How to Move Client Content from Spreadsheets to a Scheduler
Move approved client social media posts from spreadsheets into a scheduler safely, with CSV checks, account mapping, timezones and duplicate prevention.
Guides6 min read
Moving client social media content from a spreadsheet to a scheduler is not simply a matter of exporting a CSV file. The difficult part is preserving the correct account, approved caption, media, timezone and publishing status. Treat migration as a controlled handoff, not a one-click import.
The safest approach is to clean your planning sheet, test a few posts in the scheduler, verify the resulting calendar and only then move the remaining approved work.
Decide what belongs in the scheduler
A spreadsheet can contain ideas, client comments, unfinished captions, legal notes and ready-to-publish posts. Not all of these should become scheduled content.
Separate rows into four groups: ideas, drafts awaiting review, approved posts and already published posts. Only approved future posts are candidates for direct scheduling. Keep historical posts in an archive unless there is a specific reason to import them as records.
If a client has not approved a changed price or promotional image, hold that row. Do not interpret a date in a spreadsheet as permission to publish.
Audit the existing spreadsheet
Before exporting, make a copy of the source file and record its last edit time. Use one row per destination post. If one campaign has separate Instagram and LinkedIn captions, treat them as separate destination records.
| Planning field | Why it matters | Migration check |
|---|---|---|
| Client and brand | Prevents wrong-account posting | Match to authorized workspace |
| Network and account | Identifies the actual destination | Verify connected profile type |
| Caption | Holds the approved message | Confirm latest version |
| Media | Supplies the approved asset | Check rights and accessible URL |
| Local date and time | Preserves intended publishing clock | Confirm named timezone |
| Approval | Establishes authorization | Keep reviewer and version |
| Status | Prevents accidental duplicate posts | Exclude published rows |
Remove empty rows, inconsistent labels and obsolete columns from the export. Keep private client notes in the planning system rather than placing them in public captions.
Check the import format of your chosen tool
There is no universal CSV format for social media schedulers. Buffer's official bulk-upload documentation specifies channel templates, required header names and supported media. Buffer's documented CSV workflow supports text and single-image posts, not videos or carousels. Its current help page also explains per-plan upload limits.
Those rules belong to Buffer, not every scheduler. A tool may instead use an API, a composer or a native spreadsheet integration. Check its current documentation before preparing the file.
For a comparison of import mechanics, see SolMarrow's guide to bulk scheduling with CSV. In SolMarrow, a CSV file needs date, time and text columns, with optional accounts, media and title columns. Times are read in the workspace time zone, a file can hold up to 500 posts, and TikTok posts need the composer. See CSV bulk upload for the full column list.
Map columns without losing meaning
Create a small mapping table between the planning sheet and the scheduler's official template. Do not assume a field named "Date" means the same thing in both systems.
For example, a spreadsheet may store "Tuesday, 9 AM Pacific" as a text note. The scheduler might require a date-time string and a channel timezone configured elsewhere. Convert the specific date using a timezone-aware method and inspect the result.
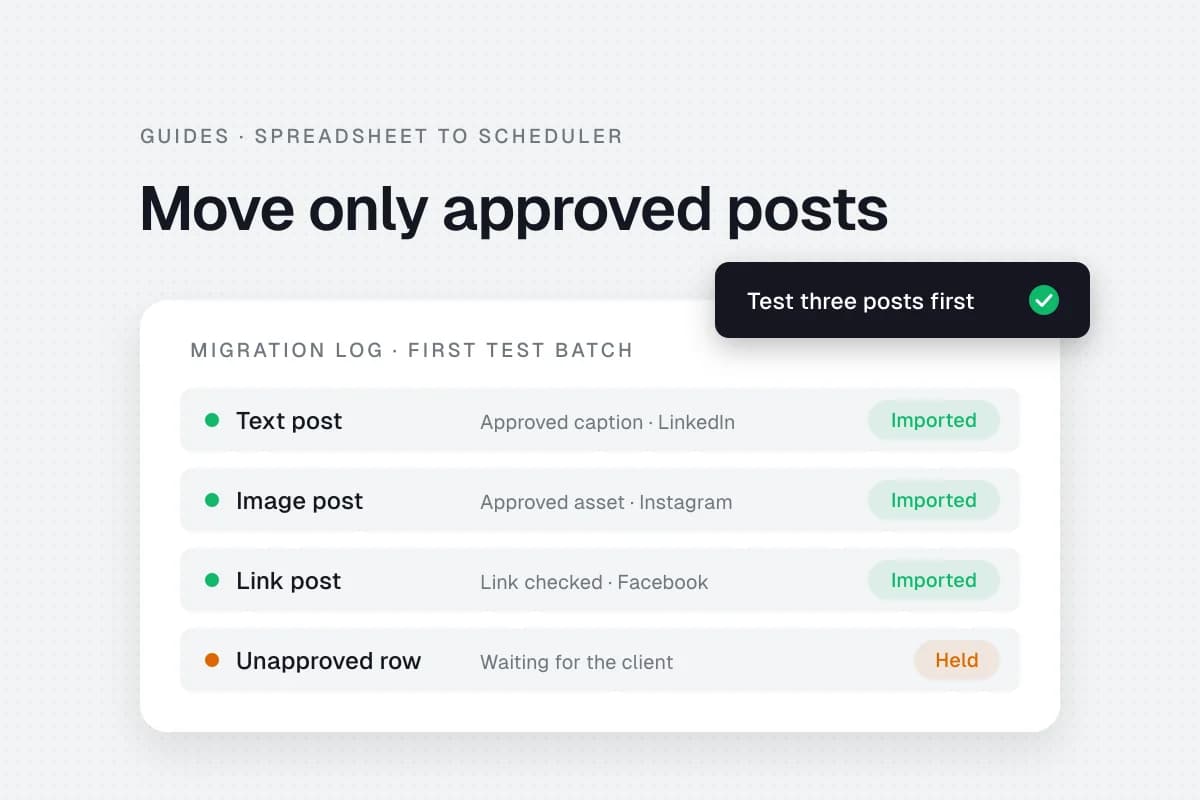
Keep a separate migration log with the source row ID, destination account, import batch, result and verified scheduled post. This log makes it easier to detect duplicates or missing rows.
Prepare a safe first batch
Start with three approved posts representing different conditions: a text post, a post with an image and a post with a link. Do not start with a full month of client content.
- Download the current official template for the destination network.
- Copy only supported columns from the approved planning rows.
- Export using UTF-8 so punctuation and emoji survive.
- Upload the test file and inspect every preview.
- Save as drafts first if the platform allows it.
- Check each imported caption, asset, account and scheduled time.
- Record the imported post IDs or visible calendar entries in the migration log.
Buffer's help center distinguishes a successful preview from the final action to save drafts or add posts to the queue. Do not assume an uploaded file created posts until you verify the final result.
Protect approvals during migration
Client approval applies to a specific version of a post. If the import process trims text, drops a link, changes the media or alters the scheduled date, the resulting version may no longer match the approval.
Keep a copy of the approved caption and asset reference. Compare the imported draft with that version before scheduling. If the change is material, return it to the named reviewer.
For a practical approval sequence, see the client approval workflow guide.
Move the remaining posts in controlled batches
Once the test works, import the next set of approved posts by client and network. Smaller batches are easier to reconcile than a mixed file containing every account.
After each batch, compare the number of accepted source rows with the number of actual destination records. If a row fails, correct it and retry only that row. Reimporting the entire batch can create duplicates.
Keep the source spreadsheet read-only during the cutover or clearly mark migrated rows. Otherwise one teammate may edit the old sheet while another schedules an outdated caption.
Check timezones and publishing results
A timestamp can look correct in one calendar and wrong in another if the two tools display different timezones. Store the intended audience-local date and a named zone such as America/New_York. Account for daylight-saving changes on future dates.
Before the first publishing window, inspect the destination account and queued time. After the post goes live, verify its public URL and record whether the platform actually published it. A queued post is not proof of publication.
See the guide to scheduling across time zones for the related checks.
Keep an audit trail and rollback plan
Record who approved the migration, which rows were moved, which failed and which remain in the original sheet. For sensitive client campaigns, agree on a rollback procedure before importing.
If the wrong caption or account is detected before publication, pause the affected queue and correct the destination draft. If a post is already live, follow the client's correction and escalation policy. Do not silently delete evidence of an error.
Frequently asked questions
Can I import all posts from Excel or Google Sheets?
You can export a CSV, but the scheduler must support the required import format. Check media, account and plan restrictions before migrating.
Should I import unapproved drafts?
Only as drafts if the tool supports a safe draft state. Never automatically schedule content that lacks required approval.
How do I prevent duplicate scheduled posts?
Keep a source-row identifier, import log and verified destination record. Retry only failed rows and inspect the queue before another import.
What if my scheduler cannot import videos?
Keep those rows in the planning sheet and create them through the supported composer or workflow. Do not force an unsupported media format into CSV.
Sources
- Buffer Help Center, bulk upload, official templates, limits, supported media and import confirmation.
- SolMarrow bulk scheduling guide, product-specific planning context.
A successful migration preserves the client's intent, not just the text in the spreadsheet. Confirm the destination, approved version, local time and actual published result before calling the move complete.