How Small Businesses Can Get Started with Social Media Scheduling
Learn how to schedule social media posts for a small business, choose the right channels, plan a first week of content, and check that posts go live.
Guides12 min read
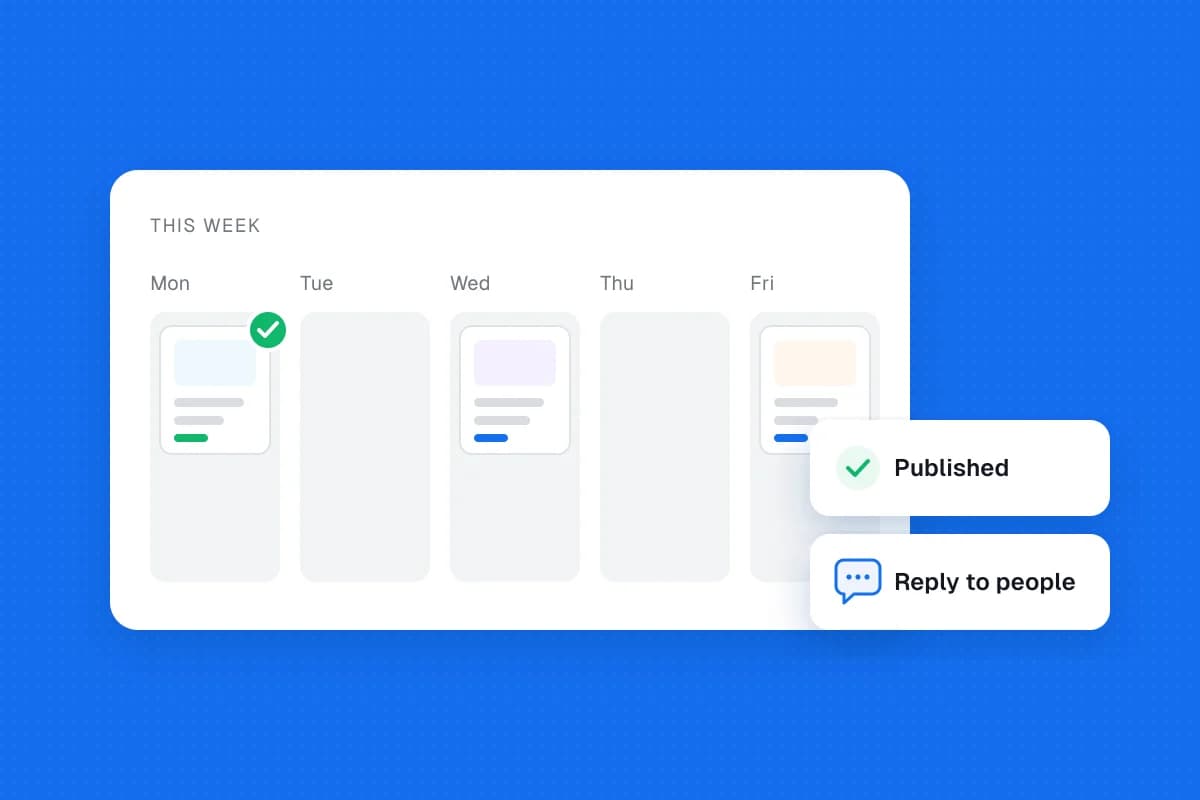
Social media scheduling means preparing posts ahead of time and choosing when they should go live. For a small business, the easiest way to start is to pick one or two useful channels, prepare three good posts, schedule them for the coming week, and check that they publish correctly.
You do not need to post every day or buy a complicated marketing tool. You need a simple routine you can maintain alongside customer work, appointments, deliveries, and everything else involved in running a business.
This guide walks through that first week, including how to choose a scheduler, what to post, and what to check before and after publication.
The simplest way to start
If you have never scheduled a post before, begin with this short sequence:
- Choose one business goal, such as more appointment inquiries or more visits to your website.
- Focus on the social platform where your customers are most likely to look for you.
- Prepare three helpful posts using photos, answers, or examples you already have permission to share.
- Schedule those posts on different days.
- Return after publication to answer questions and check the results.
That is enough to test the process. Expand only when you know the routine fits your time and the platform actually supports the content you want to publish.
What social media scheduling does and does not do
A social media scheduler holds a prepared post until its selected publication time. Depending on the platform and account, it may publish automatically or require a reminder or final action. The difference matters: a post shown as Scheduled is not proof that it is Published.
Scheduling is useful for keeping an even rhythm, writing several posts in one sitting, and making sure a busy day does not leave your business account silent. It does not replace responding to comments, handling customer messages, checking the accuracy of promotions, or dealing with unexpected news.
A sensible small-business workflow is:
Plan → Draft → Review → Schedule → Verify publication → Respond and learn.
You can use this process with a platform's built-in scheduling feature or a third-party tool. What changes is the number of accounts, content formats, permissions, and reporting options available to you.
Step 1. Choose a goal and one or two channels
Start with what customers actually do before buying from your business. A neighborhood bakery, an accountant, and a contractor may all benefit from social media, but they will not necessarily need the same channel or type of post.
Ask yourself:
- Do customers need to see the finished product before they contact us?
- Are they researching expertise or comparing service providers?
- Do we often answer the same questions about availability, pricing, or appointments?
- Can we regularly create content that genuinely helps those people?
Use the answers to choose where to start. The table below is a practical starting point, not a claim that a platform guarantees results.
| Small-business situation | Possible starting channel | Useful first post | Main goal to measure |
|---|---|---|---|
| Local bakery or retailer with good product photos | Instagram or Facebook Page | Show a product and explain how to order it | Inquiries or visits |
| Consultant, accountant, or business service | LinkedIn Page or profile | Answer a common client question | Relevant profile visits or inquiries |
| Contractor or home-service provider | Facebook Page or Instagram | Explain a service and show an authorized project photo | Quote requests |
| Business with short tutorials or demonstrations | YouTube or another suitable video channel | Demonstrate one repeatable task | Qualified views or website visits |
Do not open accounts everywhere simply because a scheduling tool supports them. It is easier to improve one useful channel than maintain five mostly empty profiles.
Step 2. Check access before connecting a scheduler
Before drafting a week's worth of posts, confirm that you can publish from the account you intend to use.
Check these basics first:
- You can sign into the correct business account, Page, or profile.
- You have the required administrative or content permissions.
- The platform allows scheduling for that account type.
- Your chosen post format is supported. A standard image post, carousel, short video, poll, and story may follow different rules.
- You know who will review or approve posts if more than one person works on the account.
For example, LinkedIn's official instructions for scheduling Page posts require the appropriate Page admin role. They also list some Page post types that cannot be scheduled through that native workflow. The exact options for a personal LinkedIn profile differ; see LinkedIn's separate profile scheduling instructions.
If you use third-party software, connect a single account and test a simple post before importing an entire calendar. A successful account connection does not by itself prove that every content type will publish.
Step 3. Pick a scheduling method that fits your workload
You have two reasonable starting options.
Use the platform's own scheduling feature
This is often the simplest choice when you run only one or two accounts and do not need a shared calendar.
- Facebook and Instagram: Meta Business Suite provides scheduling tools for eligible business accounts. Start at Meta Business Suite and check that the correct Page or Instagram destination is selected. Availability and menu labels can vary by account and content type.
- LinkedIn: The native post scheduler lets eligible profiles choose a later posting time. A LinkedIn Page has its own admin workflow and format restrictions.
- YouTube: YouTube Studio's official scheduling instructions explain how to choose a future publication date, time, and time zone for an uploaded video.
Native tools are a good place to learn what publishing and scheduling look like before adding more systems.
Use one calendar for several social accounts
A third-party scheduler becomes more useful when you manage multiple brands, need a single place for drafts, or frequently switch between platforms.
Evaluate the tool against your real requirements instead of its biggest feature count. Check whether it supports your exact accounts, the media you publish, the number of scheduled posts you need, permissions for teammates, and any limits or fees. Our comparison of free social media schedulers explains the different kinds of free limits.
SolMarrow, the tool behind this blog, is one option for a shared calendar and drafts. Its free plan has unlimited posts and one connected account on each supported network, in one workspace. Some networks open only after that platform approves SolMarrow, and posting to X needs X credits or your own X developer key, so check your networks in the app before relying on it.
A useful rule: Choose the smallest setup that handles your next seven days reliably. Upgrade your process only when a real limitation appears.
Step 4. Make a realistic first-week posting plan
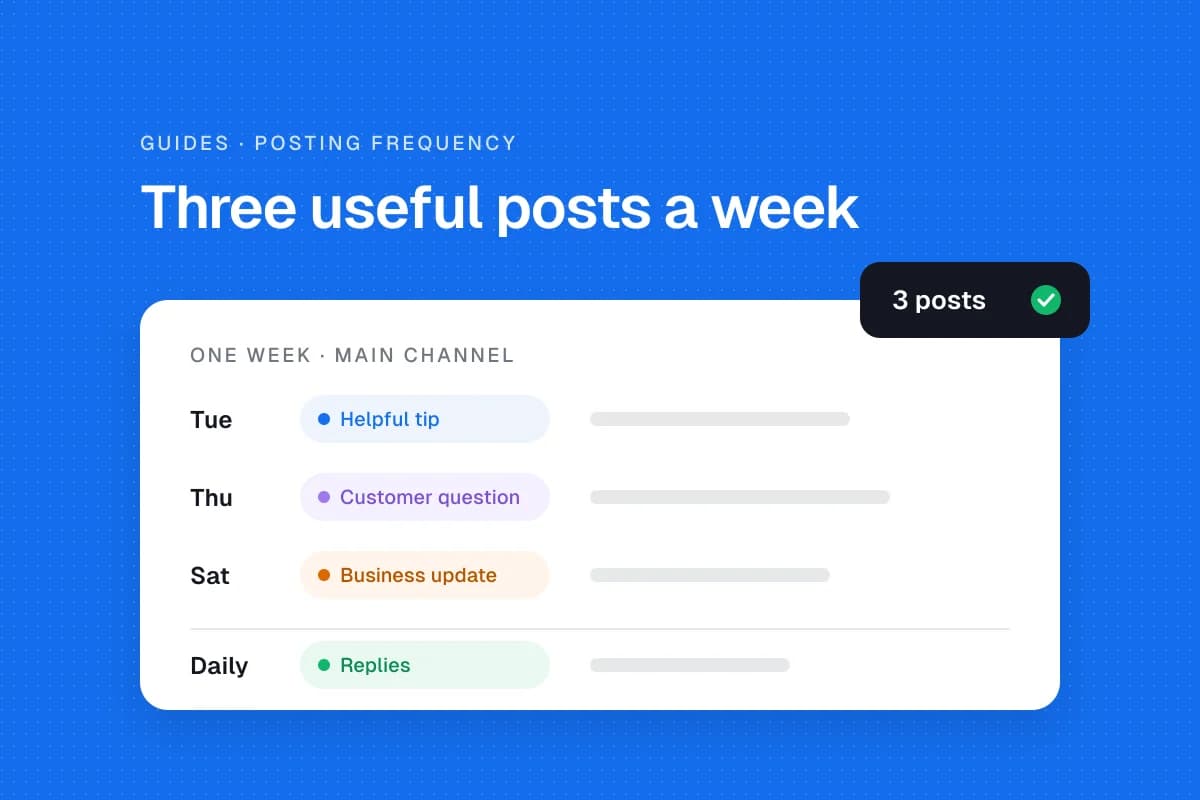
Start with three posts rather than trying to fill every day. Three is a manageable example, not an industry requirement or a proven optimal frequency.
Imagine that you own a neighborhood bakery. Your goal is to get more questions about custom cake orders. You might plan the following week:
| Day | Post idea | What to prepare | Helpful action for the reader |
|---|---|---|---|
| Monday | How custom cake ordering works | A clear product photo and ordering steps | Ask for an availability quote |
| Wednesday | Common cake-size question | A simple size guide using verified details | Choose a size or ask a question |
| Friday | Weekend pickup reminder | An accurate photo and current pickup details | Confirm a pickup slot |
Notice that all three posts answer a real customer need. They are not three different ways of saying "buy from us."
You can adapt this pattern to a cleaning service, a fitness studio, a repair shop, or a consultant. Use an explanation, a useful answer, and a practical next step.
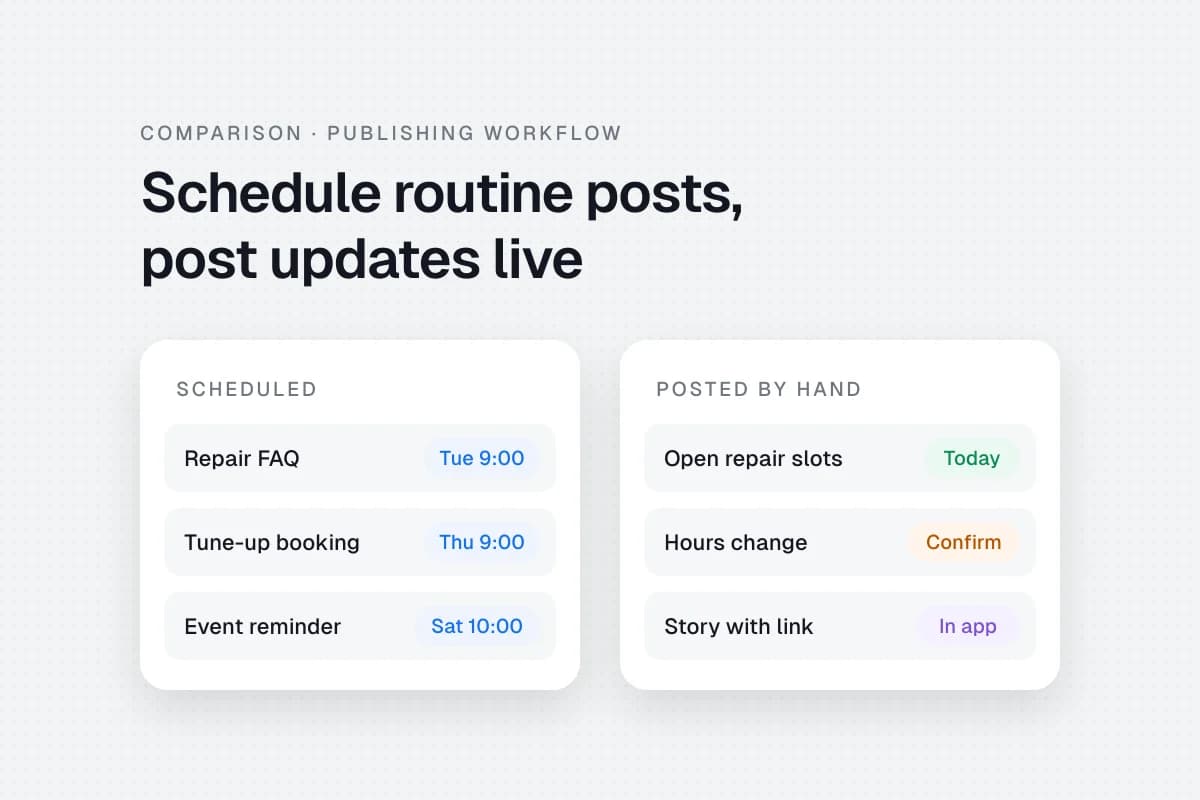
Leave some room in the week for posts you need to write on the day, such as a changed opening time or a time-sensitive update. Do not schedule information that may be wrong by the time it goes live.
Step 5. Prepare your posts before opening the calendar
Writing and scheduling are easier when you keep them as separate tasks. Gather your images, links, and captions first, then use the scheduling interface.
For each post, create a small record with:
- Topic: What question or need does this post address?
- Caption: The main point, written in the business's usual voice.
- Media: A photo or video you own, created, or are permitted to use.
- Destination: Which account will publish it?
- Call to action: One next step, such as call, ask, book, read, or visit.
- Review status: Who checked the post and whether it is ready.
Here is an illustrative caption for the bakery's Monday post:
Ordering a custom cake? Send us your event date, the number of guests, and any design ideas you have. We'll confirm availability and explain the next steps before you place an order. Message us to ask about your date.
This works because it answers a likely question without inventing a discount, a customer review, or a delivery promise. Adapt every detail to the business's actual service.
Before adding images: Check permission to use photos of customers, employees, client work, or identifiable private locations. Do not treat an image found online as free to reuse.
Step 6. Schedule one test post, then the rest
A test post reveals account or format problems before they affect a full week.
- Open your chosen platform or scheduling tool.
- Select the exact account that should publish the post.
- Add the caption, media, and any link.
- Review the platform preview and adjust the caption if it looks awkward.
- Choose a future date and time. Verify the time zone, especially if your customers are in a different region.
- Confirm the schedule. Then locate the post again in Scheduled, Planner, or the tool's calendar.
- After the selected time, verify that it actually went live on the intended profile.
For a LinkedIn Page, the official step-by-step scheduling instructions show how an admin schedules a post and where the scheduling controls appear. YouTube's official instructions separately explain the schedule card for videos. These interfaces are not identical, so follow the instructions for your own channel rather than assuming one scheduler works the same way everywhere.
Once that test succeeds, schedule the remaining two posts. If it fails, fix the permission, media, connection, or date problem before proceeding.
Step 7. Use a short review checklist before scheduling
Even a small business can accidentally publish the wrong price, outdated opening hours, or content meant for another account.
Review each post with this checklist:
- The selected business account is correct.
- The caption contains no outdated offer, unsupported claim, or private customer information.
- The link opens the intended destination.
- The photo or video is licensed for use and displays correctly.
- The content suits the selected platform and format.
- The scheduled time and time zone are correct.
- Any required teammate or client approval is complete.
- The post appears in the scheduled list after saving.
If a customer-facing promotion has an expiration date, set a reminder to check whether the post still makes sense on its publication day.
Do not assume scheduling means someone will respond to comments or messages. Assign a person to monitor replies after the post goes live.
Step 8. Check results and adjust next week's plan
Review the scheduled posts once they are live. Focus on whether the routine worked and whether the posts helped the goal you selected.
Start with these questions:
- Did everything publish? Note any missed posts or wrong destinations.
- Did customers react in useful ways? Look for questions, relevant replies, profile visits, bookings, or other actions available in your account's analytics.
- What did people want to know? Turn genuine customer questions into future content ideas.
- Was the workload manageable? If the schedule was stressful, reduce the number of posts rather than lowering the quality.
For example, suppose your bakery's ordering-explanation post generated useful inquiries, but the generic product photo generated little conversation. Next week, try answering another ordering question. That is a practical experiment, not proof that one post type always performs better.
Do not judge success from likes alone. A local business may care more about qualified conversations or appointments, while a professional service might care about consultation inquiries.
Common scheduling mistakes that are easy to avoid
Trying to post on every platform. Start where the customer and the content fit, then expand after you can maintain the routine.
Copying the same caption everywhere. A short visual caption can work differently from a detailed LinkedIn explanation. Adjust the opening and action for the destination instead of blindly duplicating posts.
Scheduling too far ahead. Promotions, staff availability, menus, and prices can change. Review time-sensitive content shortly before it publishes.
Confusing Scheduled with Published. Check the final live post, not only the calendar entry. Platform restrictions, expired connections, and media errors can interrupt posting.
Setting a schedule and ignoring replies. Scheduling handles timing, not customer service. Keep responsibility for conversations with a person who can help.
A simple routine you can repeat each week
You do not need a complicated process to keep going.
| When | Task | What good looks like |
|---|---|---|
| Start of week | Choose three relevant questions or topics | Each connects to a customer need |
| Writing session | Prepare captions, images, and links | Nothing relies on an invented claim |
| Review session | Check accuracy and account selection | All three posts are approved |
| Scheduling session | Choose dates and confirm they appear in the calendar | Posts are visibly scheduled |
| After each post | Verify publication and respond to questions | Customer replies are handled |
| End of week | Look at results and note one lesson | Next week's plan gets a little clearer |
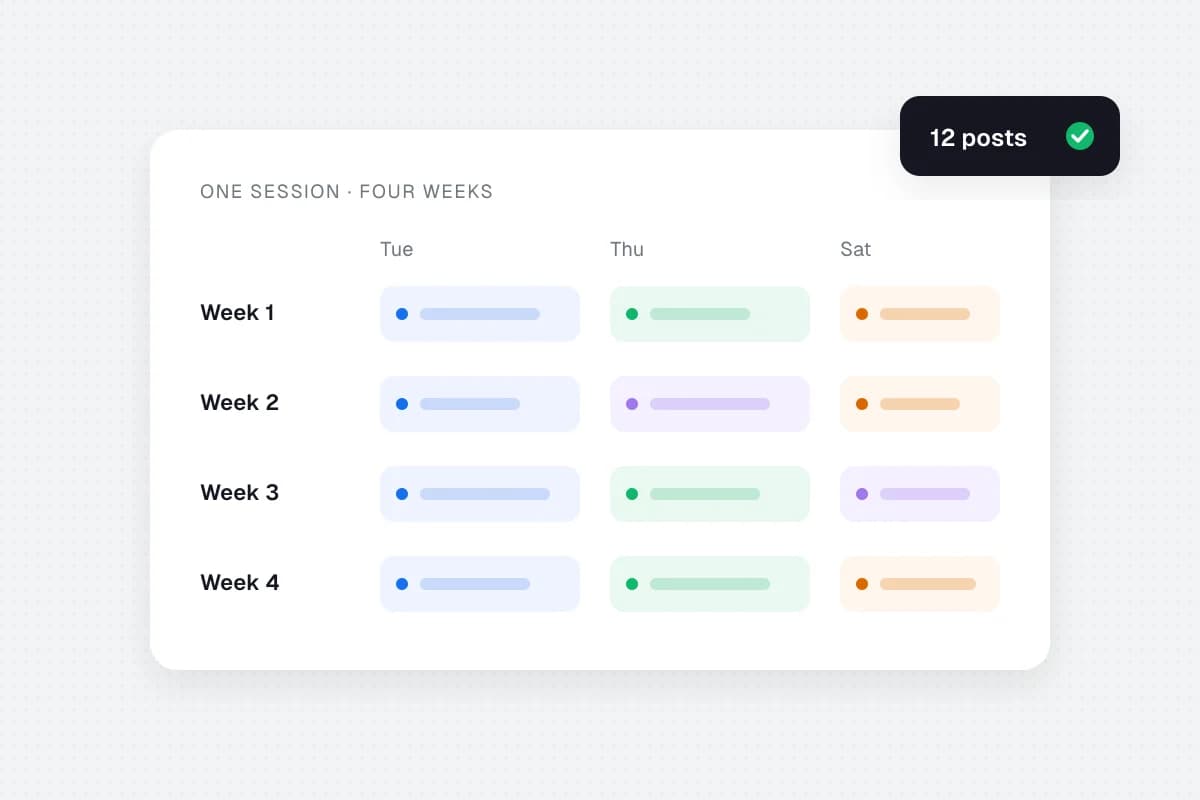
Once this becomes easy, you can build a larger content calendar. If you are ready to plan a full month, follow a dedicated planning process rather than filling the calendar just to hit a posting target.
Frequently asked questions
How often should a small business schedule social media posts?
There is no one posting frequency that fits every business. Start with a few useful posts per week if that matches your available time and content, then adjust based on real customer responses and your ability to maintain quality. Three posts in this guide is a manageable practice example, not a benchmark.
Can I schedule social media posts for free?
Many platforms offer native scheduling for eligible accounts. For example, LinkedIn supports scheduling some profile posts, and YouTube Studio supports scheduled video publication. Facebook and Instagram business-account scheduling can be managed through Meta Business Suite. Always check account and format eligibility.
Do I need a social media scheduling tool if I use only one platform?
Not necessarily. Try the platform's built-in scheduler first. A third-party tool becomes more useful when you need to manage multiple accounts, drafts, approvals, or a combined calendar.
Can I schedule the same post to Facebook, Instagram, and LinkedIn?
A third-party scheduler may support selecting several accounts, but not every format or account type is eligible for automated publishing. Check the connection and media requirements for each destination. Adapt captions and previews where needed, and run a small test before scheduling a larger batch.
What happens if a scheduled post fails?
Check the scheduler's delivery status, account permissions, media requirements, and connection health. Correct the issue and publish or reschedule only after confirming the original did not publish, so you avoid duplicates. If a platform restricts the format, choose a supported alternative. In SolMarrow, the failed posts guide explains each common reason.
Can I edit a scheduled post?
This depends on the platform and content type. LinkedIn documents how to edit a scheduled Page post, including opening the scheduled-post list and saving the change. In other systems, you may need to reschedule or replace a post. Always check the saved version after editing.
Start with one week, not an entire campaign
A useful scheduling habit begins with a manageable promise to your customers. Answer three questions they care about, check the accounts and timing, make sure the posts publish, and be present when people reply.
You can do that with native scheduling tools or try SolMarrow if you want one calendar for several networks. Check its current networks and your account's permissions before moving content into it.
The first goal is not to fill a calendar. It is to build a posting routine your business can actually keep.