Social Media Content Calendar Template for Small Businesses
Copy a practical social media content calendar template for small businesses, with spreadsheet columns, a four-week example, approval steps and FAQs.
Templates8 min read
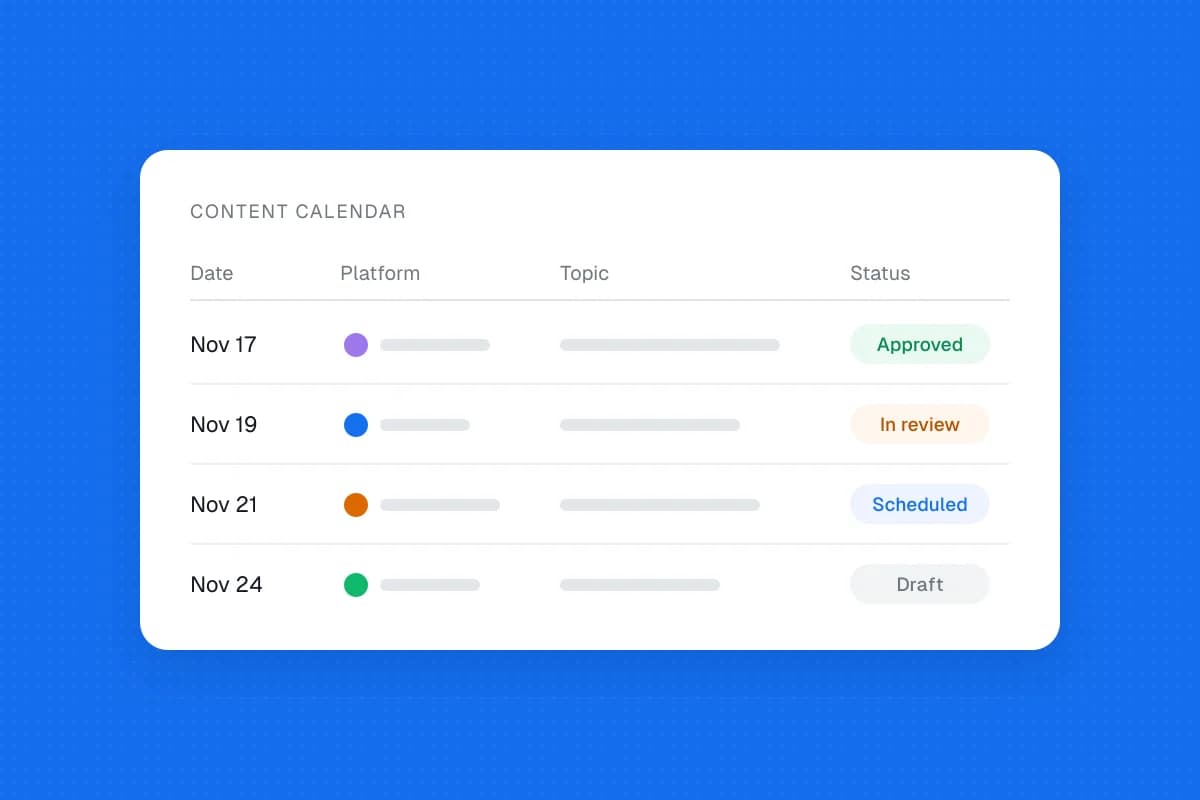
A social media content calendar doesn't need to be complicated. For most small businesses, a spreadsheet with the publishing date, platform, post idea, caption, asset, owner and approval status is enough to replace last-minute posting with a workable routine.
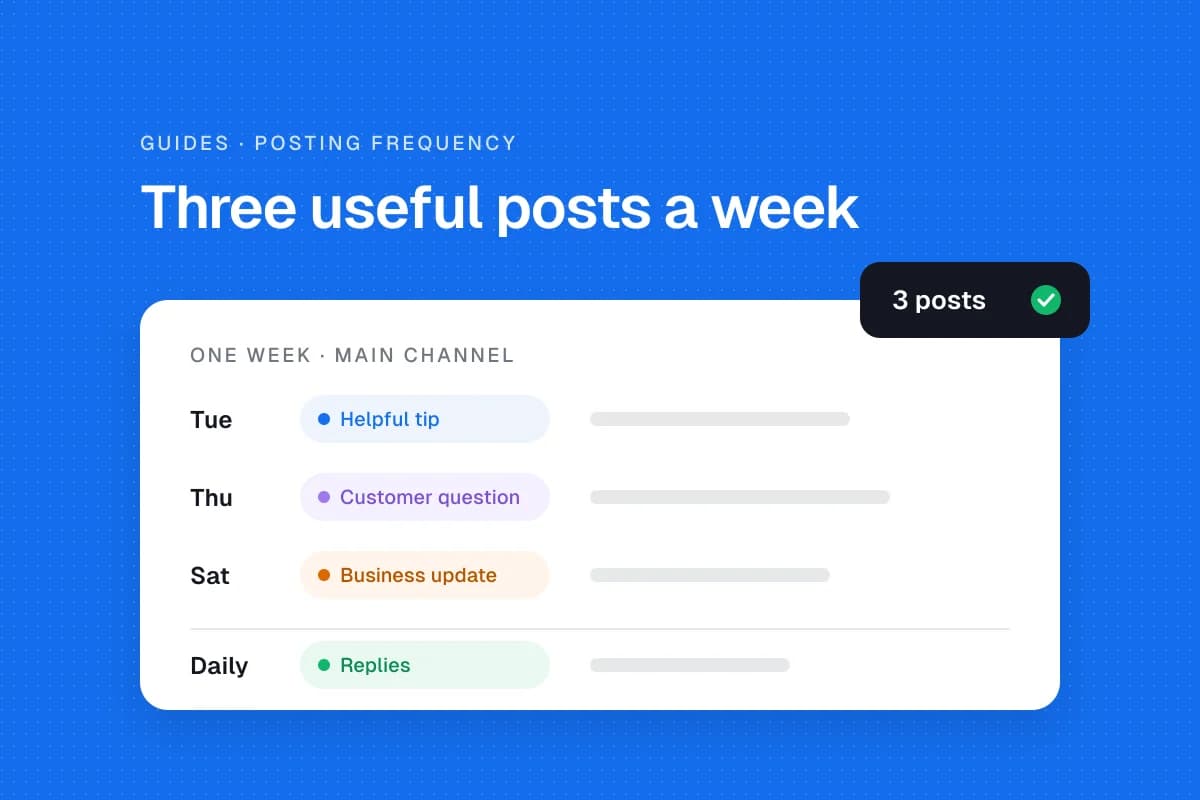
Use the free copyable template below to plan a month of content. It works in Google Sheets, Excel or a Notion table. The example covers three posts per week, not a requirement to post every day. Adjust the frequency to the time and material you actually have.
Copy this social media content calendar template
Create a spreadsheet with the following column headers. Put one scheduled post in each row. Keep the date and timezone together so nobody confuses a draft deadline with the time the post goes live.
| Column | What to enter | Example |
|---|---|---|
| Publish date | Planned calendar date | Nov 17, 2026 |
| Publish time and timezone | Local clock time and IANA timezone | 10:00 AM America/New_York |
| Platform | Intended social account | Instagram business account |
| Format | Media type | Photo with caption |
| Content pillar | Why this post exists | Helpful advice |
| Topic | Specific customer question | How to prepare for a first appointment |
| Hook | First line that earns attention | Before your first visit, check these three things |
| Caption | Approved text, including CTA | Short checklist and booking link |
| Asset link | Approved image or video location | Internal media folder link |
| Owner | Person preparing the post | Marketing assistant |
| Reviewer | Person approving claims and media | Business owner |
| Status | Current stage | In Review |
| Destination | Landing page, booking or product link | Relevant service page |
| Result | Measured outcome after publication | Inquiries or link clicks |
For a quick start, copy this header row into a spreadsheet:
Publish date | Timezone | Platform | Format | Pillar | Topic | Hook | Caption | Asset link | Owner | Reviewer | Status | Destination | Result
Keep the status options simple: Idea, Draft, In Review, Approved, Scheduled, Published and Needs Fix. A post is not Published just because it was queued. If a scheduled post fails, move it to Needs Fix, investigate the reason and confirm the actual published URL before marking it complete.
A ready-to-adapt four-week calendar
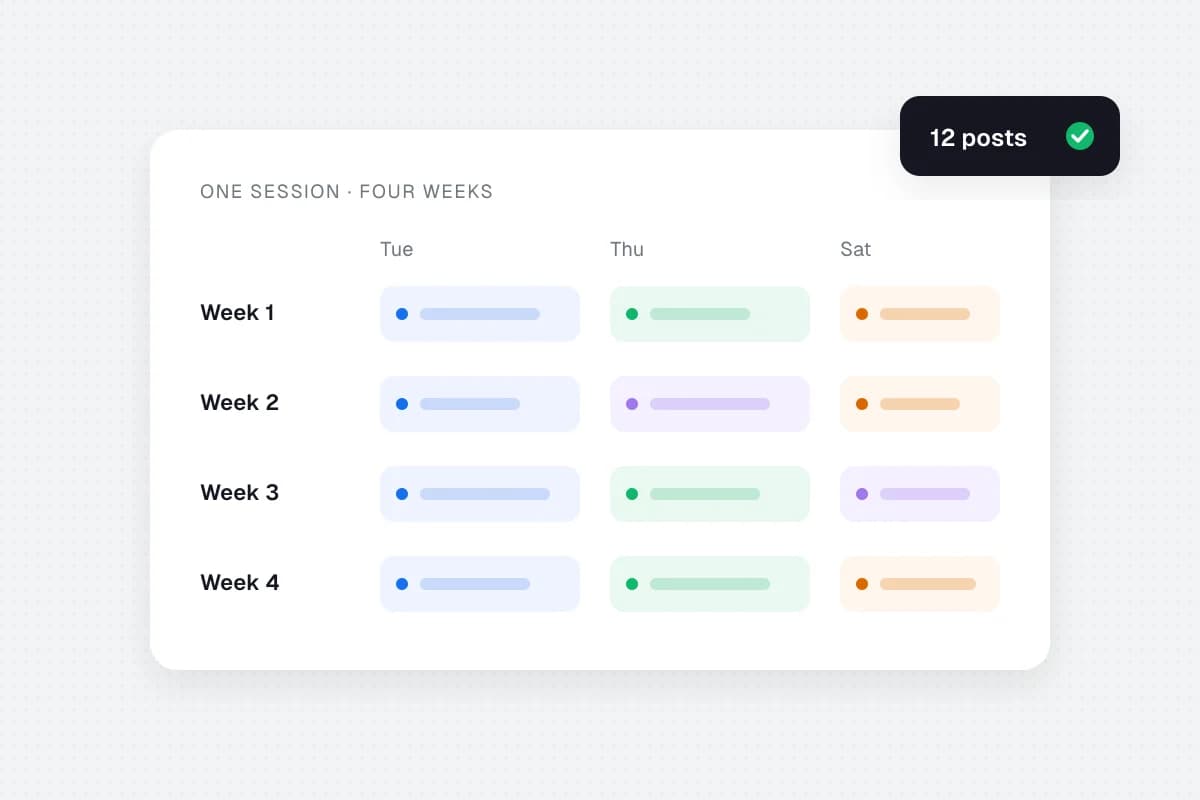
Here is a sample for a small local service business. It assumes three main posts each week and a goal of answering questions that lead to qualified bookings. These are prompts, not finished claims or customer testimonials.
| Week | Tuesday | Thursday | Saturday |
|---|---|---|---|
| 1 | Answer the question customers ask before booking | Show a real behind-the-scenes preparation step | Explain how to request a quote |
| 2 | Teach one maintenance or preparation tip | Introduce a team member with permission | Explain available appointment types |
| 3 | Correct a common misunderstanding | Share a documented example with consent | Invite followers to ask a useful question |
| 4 | Explain what affects price or turnaround | Show how quality is checked | Summarize next month's booking options |
A bakery can replace appointment topics with ingredient questions, storage tips and preorder information. A freelance designer can replace them with brief preparation, project stages and portfolio examples. A B2B software company can use setup tips, documentation walkthroughs and genuine product updates.
The important part is the balance. If every Saturday post sells something, the calendar may become repetitive. Swap some invitation slots for helpful explanations or community questions when they better serve the audience.
Set up the calendar in six steps
1. Choose one goal for the month
Write down what success would look like. It might be consultation inquiries, relevant website visits, repeat orders or attendance at a local event. Don't default to follower growth if that isn't what the business needs.
Choose a matching measurement. If you want inquiries, track messages and booking requests where the platform and your website allow it. If you want website visits, track tagged links and relevant landing-page traffic. Note that some results can't be attributed reliably to a single social post.
2. Pick the channels your customers use
Start with one or two accounts you can manage consistently. A business serving local residents may prioritize a different network from a firm selling to procurement teams. Check actual customer behavior and your existing account insights before deciding.
Don't assume every network supports the same formats, scheduling methods or publishing permissions. Confirm each account's access and supported post types in the tool you plan to use.
3. Choose three or four content pillars
Pillars are repeatable subjects that stop you from inventing a completely new strategy every morning. A practical starting set is:
- Teach: How-to tips, FAQs and useful explanations.
- Show: Real process photos, team stories and behind-the-scenes work.
- Prove: Documented examples, verified outcomes and approved testimonials.
- Invite: Clear offers, events, bookings or product information.
Use the mix as a planning aid, not an algorithm formula. If you don't have permission to publish a customer story, replace it with a process explanation rather than inventing social proof.
4. Fill the month with real customer questions
Open your support inbox, recent sales conversations, service pages and old posts. Write down ten to fifteen questions or recurring problems. Turn each into one specific topic.
For example, “What should I know before my first appointment?” is a useful topic. “Monday motivation” tells neither the customer nor the writer much about the value of the post.
Place the strongest topics on dates that make sense. Check holidays, operating hours, promotions, launches and any events that require timely information.
5. Draft and approve each post
Write a clear first line, useful explanation and sensible next step. Attach the correct image or video. Verify dates, links, names, prices and claims. Check whether a photograph needs permission and whether an informative image needs alt text.
Assign a reviewer. Even a solo business can create a separate final-review step rather than moving a draft straight to Scheduled. Approval should mean the text, creative asset, destination and publishing account have all been checked.
6. Schedule, monitor and learn
Only schedule content that is approved and unlikely to become inaccurate. Keep time-sensitive offers flexible. Verify timezone settings and the destination account before queueing posts.
During the month, check whether scheduled posts actually publish. Reply to relevant customer questions, and pause outdated content. At month's end, compare outcomes by pillar and format. Use what you learn to make next month's calendar more useful.
A practical example of one completed row
Imagine a local home-cleaning service. A completed educational post might look like this:
- Date: Tuesday, November 17, 2026, at 10:00 AM America/New_York.
- Platform: The company's existing Instagram business account.
- Topic: How to prepare for a first cleaning appointment.
- Hook: “Three small things to check before your first cleaning visit.”
- Caption: “Confirm access instructions, put away personal valuables and tell the team about any surfaces that need special care. Your provider may have additional requirements, so check the appointment confirmation before the visit.”
- Visual: An original photograph of a tidy entryway, with permission and no personal information visible.
- CTA: “See our appointment preparation guide.”
- Owner/reviewer: Named staff members.
- Status: In Review until the link, image and instructions are confirmed.
The example is fictional and should be adapted to the business's actual process. It does not claim a real company's policy or a tested result.
How to use the template with a small team
A calendar becomes more valuable when it makes handoffs obvious. Give every post one owner and one reviewer. Keep a link to the approved creative asset instead of sending several versions through chat. When someone edits a caption after approval, send it back for review if the change affects meaning, pricing, claims or compliance.
For multiple locations or clients, add a Brand or Location column. Keep each account's timezone and publishing permissions explicit. A shared overview is useful, but the reviewer should always be able to see which business will publish the post.
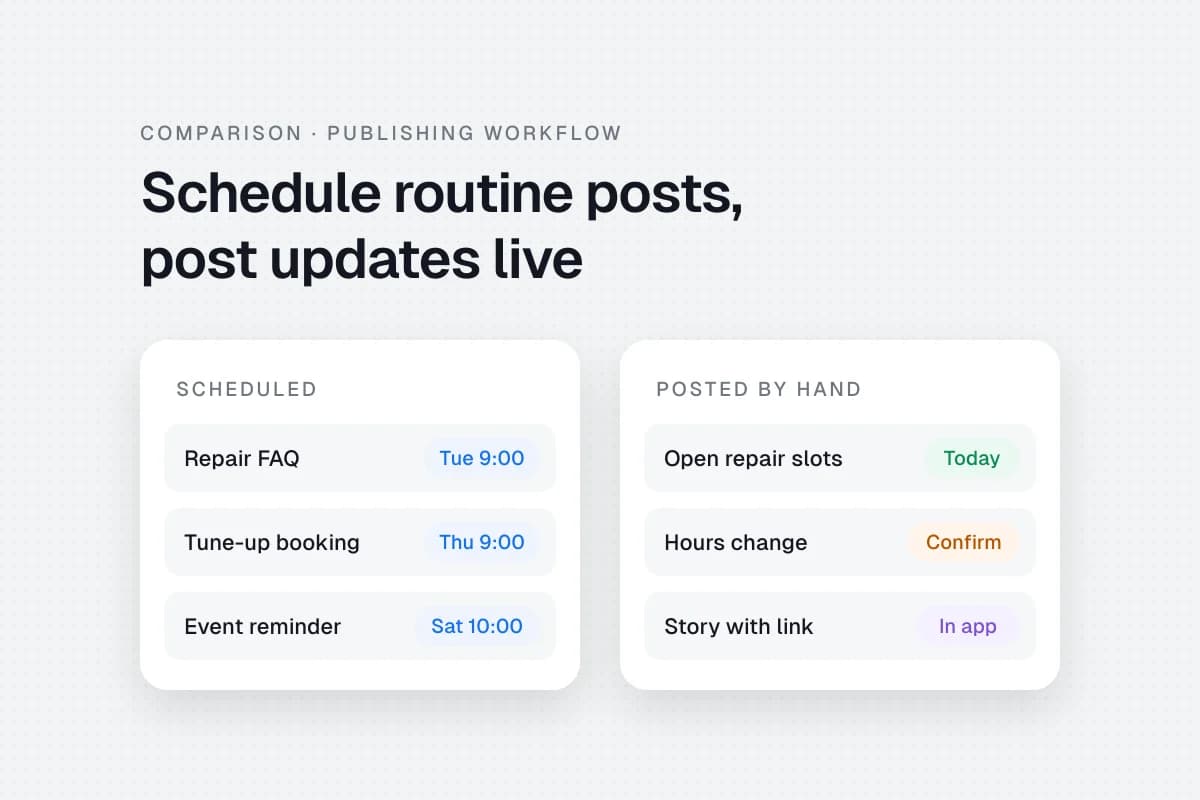
If your team uses a social scheduling platform, map these fields to its actual composer and approval workflow. In SolMarrow, the calendar and CSV bulk upload cover the date, time, account, caption and media columns on the free plan, and post approvals for a reviewer are part of Pro. Check that the networks you need are open in the app before moving your calendar.
Avoid these calendar mistakes
Filling every day with filler. A monthly calendar can contain twelve good posts. It doesn't need thirty weak ones.
Treating a draft as approved. A scheduled queue is not a substitute for fact-checking, customer consent or business review.
Copying identical posts to every network. Reuse the core idea, but adapt the format and wording to the audience and network.
Ignoring timezones. Record the intended publishing timezone, especially when staff and customers are in different regions.
Forgetting the destination. If a post invites people to book, confirm the booking page works. If it promises a guide, link to the guide rather than the home page.
Never reviewing results. Reserve a short monthly review to see which topics generated meaningful questions, clicks or inquiries. Don't rely only on impressions.
Frequently asked questions
Is this social media content calendar template free?
The column structure and sample schedule on this page are free to copy into your own spreadsheet or Notion table. No paid template or special software is required.
How many posts should a small business schedule each week?
There is no universal number. Start with a pace you can sustain, such as two or three useful posts a week, then adjust based on capacity, customer response and business outcomes.
Should I use a spreadsheet or scheduling software?
A spreadsheet is often enough for planning and approvals. Scheduling software can be useful when you need to manage posting times, accounts and content from one place. Check actual capabilities, permissions and costs before choosing.
Can I reuse the same calendar next month?
Yes. Keep the columns and workflow, but review last month's results and update the topics, dates, assets and offers. Don't repeat a customer testimonial or a time-sensitive announcement without checking that it remains accurate.
What if a scheduled post fails?
Check the account connection, publishing permissions, content format, platform restrictions and any error details. Mark the post Needs Fix and verify successful publication before changing its status to Published.
Make your first calendar today
Copy the header row, choose twelve realistic publishing slots and fill them with actual customer questions. Assign each post an owner, an approval status and a useful next step. After the first month, keep what worked and simplify what didn't. When you are ready to plan the month itself, see how to plan 30 days of social media content in one session.
Sources and further reading
- Sprout Social's 2026 social media calendar template describes calendar coordination, ownership and goal alignment.
- SocialKit's free spreadsheet template, May 20, 2026 demonstrates useful fields such as dates, captions, pillars and status.
- Social9's 30-day planning guide, October 14, 2026 discusses pillars, approval and monthly review.
- SolMarrow pricing lists the current plans and what each includes.